How to Make Background Transparent in Illustrator
In this tutorial, you will learn how to create and export artwork with transparent backgrounds in Adobe Illustrator with this quick guide. Ideal for any skill level, we’ll cover how to set up your document for transparency, use the Transparency Grid for a clear view of your work, and choose the right export settings to keep your backgrounds transparent. Perfect for making your designs more versatile for any use.

When working in Illustrator, and in many other graphic design programs, the appearance of a white or solid-colored background can be misleading because it might seem like your canvas has a background color when, in fact, it does not. This white space is simply Illustrator’s way of visually representing your workspace—it doesn’t actually mean there’s a “background” there in the same way that a piece of paper would have a white background.
However, when saving or exporting your artwork from Illustrator, if you don’t specifically choose settings that preserve transparency, the resulting file may indeed have a white background instead of being transparent. This is especially pertinent when saving in formats capable of supporting transparency, like PNG or SVG.
Step 1: Use the Transparency Grid

Open Adobe Illustrator and create a new document or open an existing one.
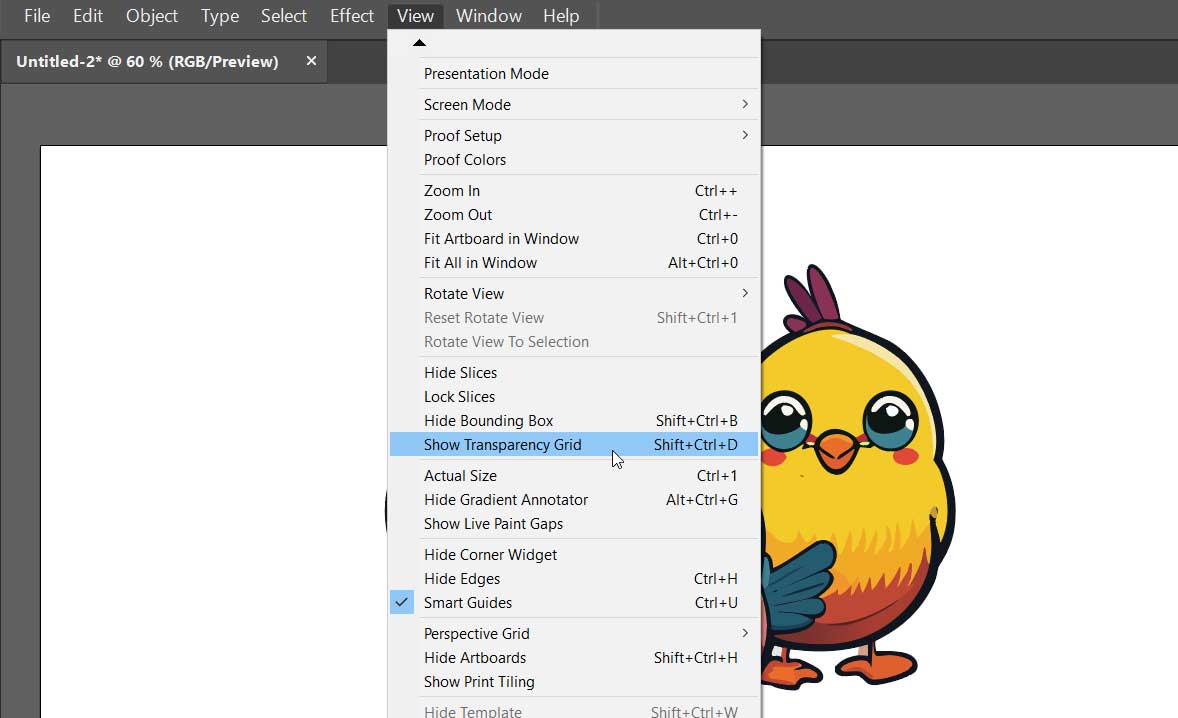
To visualize the transparent areas as you work, go to the View menu.
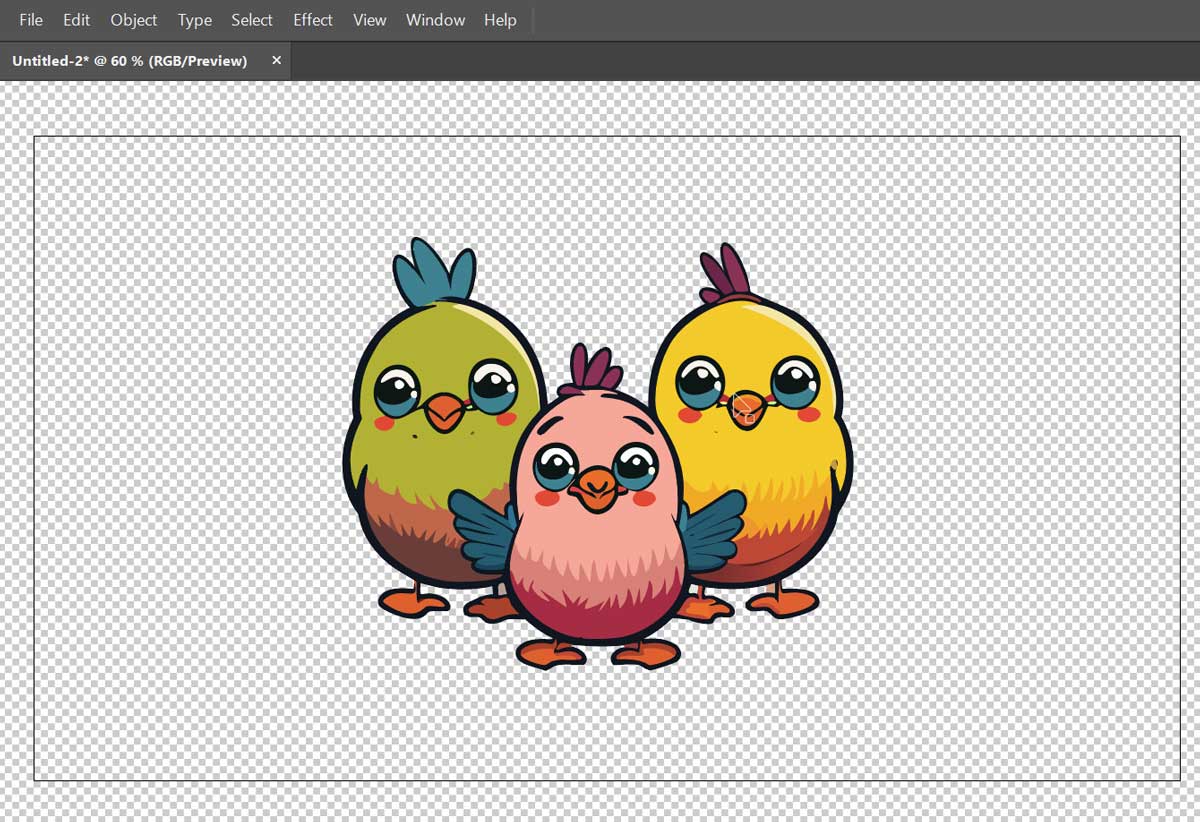
Select Show Transparency Grid or use the shortcut Shift + Ctrl + D. This will replace the white canvas with a checkered pattern, indicating areas of transparency.
Step 2: Design Your Artwork

Proceed to design your artwork as usual on the canvas.
Ensure not to fill areas you want to remain transparent with any color or background.
Step 3: Export with Transparency

Once your artwork is ready, go to File > Export > Export As….
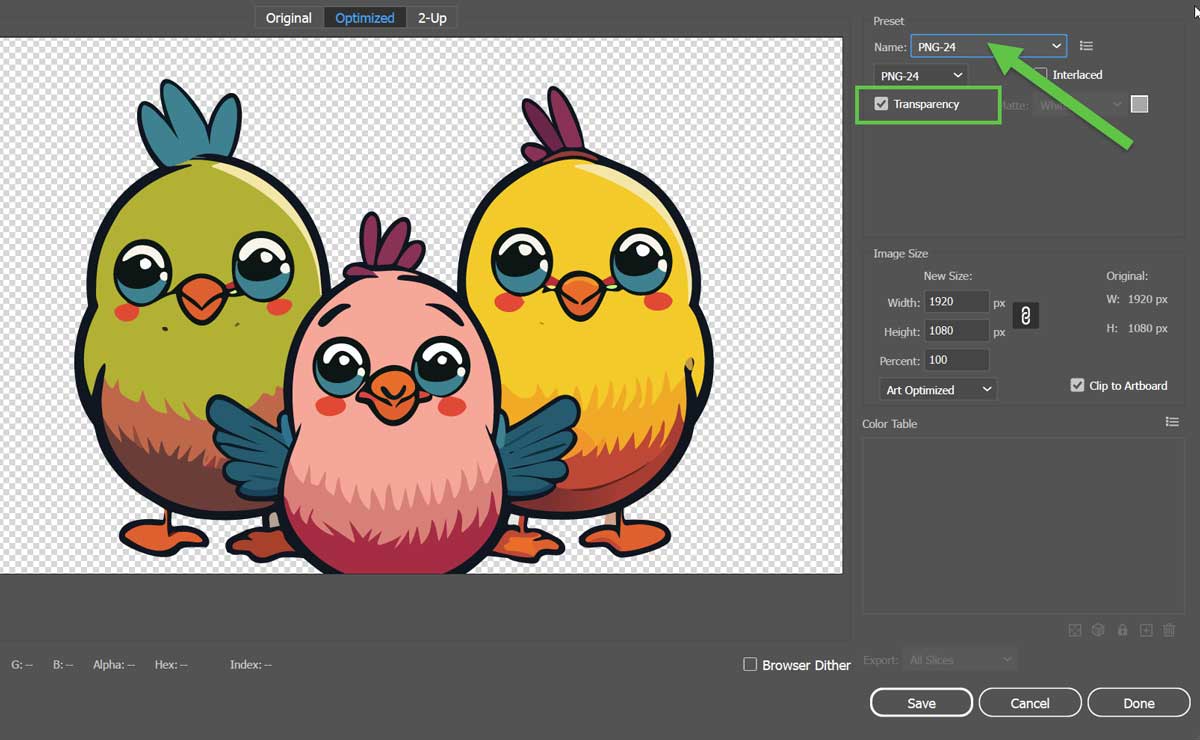
Choose a file format that supports transparency, such as PNG or SVG.
In the export options, make sure to check the option labeled Transparent if available.
Click Export to save your file.
Understanding the Steps for Transparent Backgrounds
Step 3, which involves exporting your artwork with the correct transparency settings, is often sufficient for achieving a transparent background. This method is particularly preferred because working on Illustrator’s default white canvas can be easier on the eyes, making it a less strenuous option for lengthy design sessions. The white canvas offers a clear and clean workspace, especially beneficial when the main focus is the final output.
However, there are scenarios where you might want to ensure transparency not just in the final output, but throughout the entire design process. This is where Step 1 comes into play. Starting your project by enabling the Transparency Grid helps you visualize and work with transparent areas from the very beginning. It’s particularly useful for intricate designs where understanding and seeing the interaction between transparent and non-transparent elements is crucial as you design.


