
How to Access Settings in Windows 11
Navigating to the Settings menu in Windows 11 is straightforward and offers you the flexibility to customize and manage various aspects of your system’s functionality. Whether you’re looking to adjust your network settings, personalize your desktop, manage your devices, or update your system, the Settings app is your central hub for all these actions. Here’s how you can open the Settings menu in Windows 11:
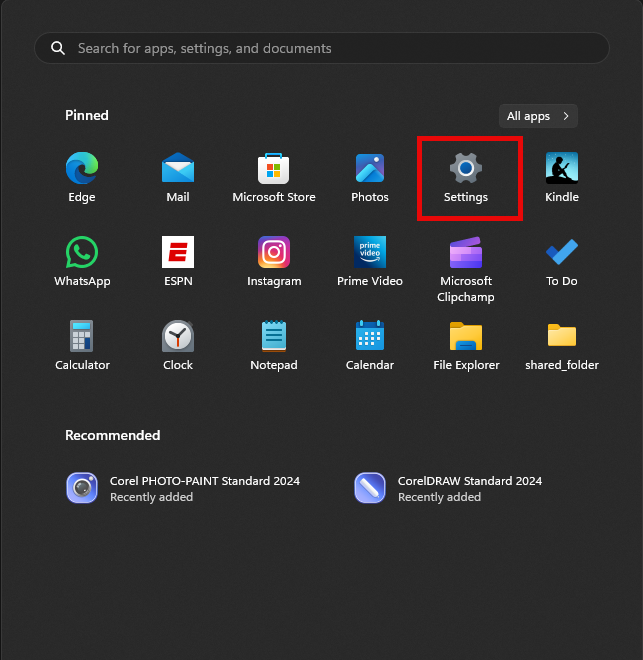
Using the Start Menu:
- Click on the Start button ⊞ located at the bottom-left corner of your screen, or press the Windows key on your keyboard.

- In the Start menu, you’ll find the Settings gear icon ⚙. Click on this icon to open the Settings app directly.

Search Function:
- Press the Windows key to activate the search bar at the bottom of the Start menu.
- Type “Settings” into the search bar. The Settings app icon will appear as the best match.
- Click on the Settings app in the search results to open it.
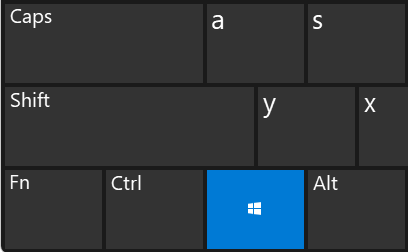
Using Keyboard Shortcuts:
- You can quickly access the Settings menu by using the keyboard shortcut. Simply press the Windows key + I simultaneously. This shortcut will directly open the Settings app wherever you are in Windows.
Through the Quick Action Menu:
- Right-click on the Start button ⊞ or press Windows key + X to open the Quick Link menu.

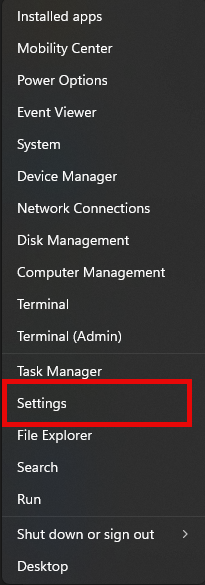
- From the menu that appears, select ‘Settings’ to open the Settings app. This method provides a fast route to the settings without navigating through the Start menu.
Each of these methods provides a convenient path to accessing the Settings app, allowing you to customize and manage your Windows 11 system with ease. Choose the one that best suits your preferences or the context of your needs.