

Windows 11 Update Guide
This guide provides instructions on how to update your Windows 11 operating system to the latest version, ensuring compatibility with the most recent applications and features.
Check Your Current Windows Version
Before updating, check which version of Windows 11 you are currently running:
- Open Settings: Press Win + I to open the Settings app.
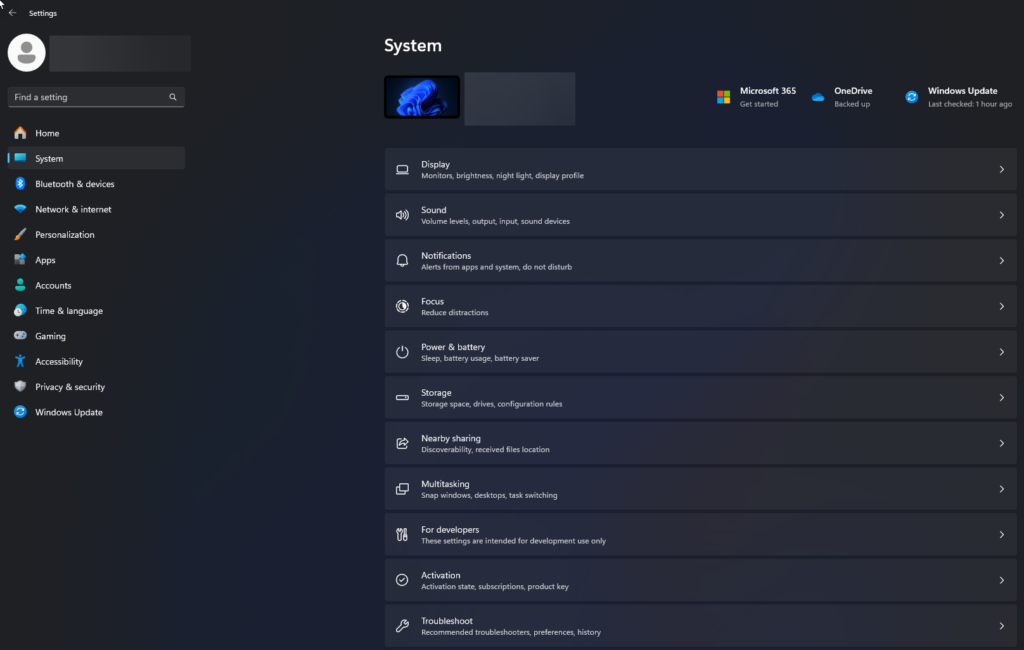
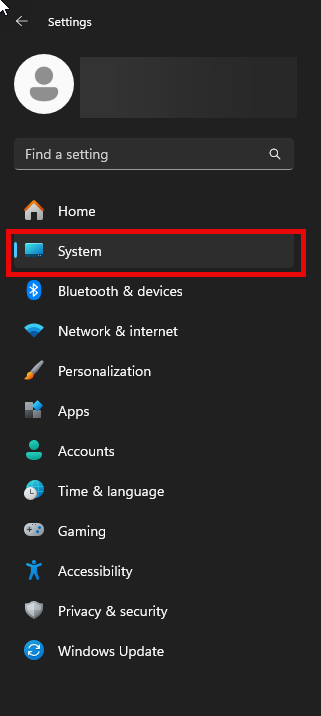
- Navigate to System: Click on System, then select About.
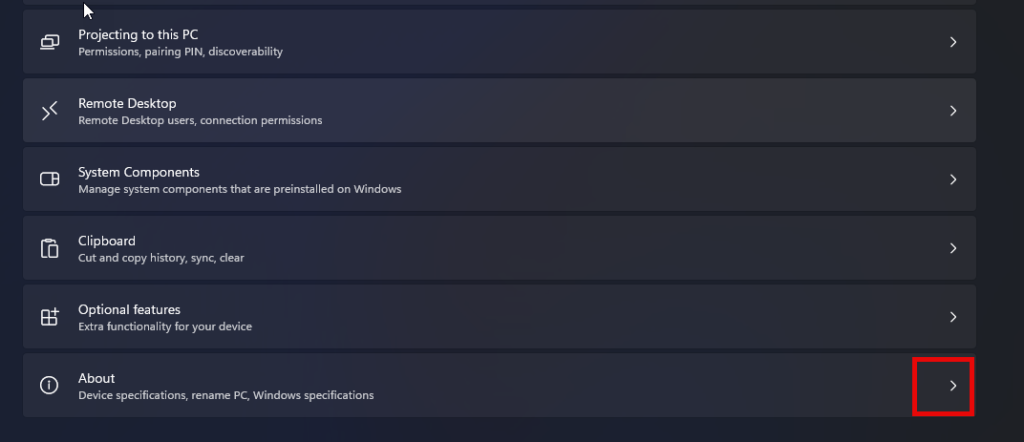
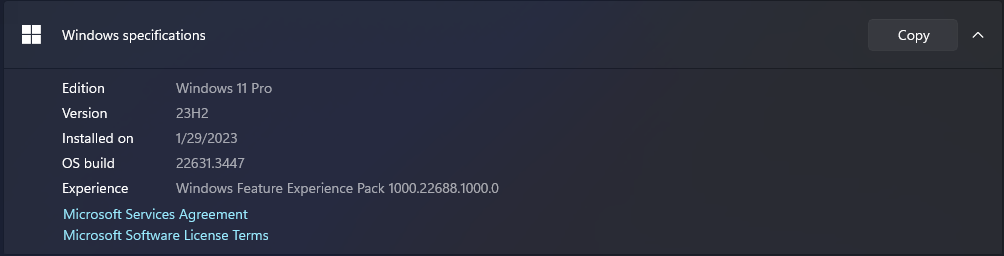
- View Windows Specifications: Check the details under Windows specifications to see your current version and edition.
Update Windows 11
Follow these steps to update your Windows 11 to the latest version available:
Step 1: Open Windows Update
- Open Settings: Press Win + I.
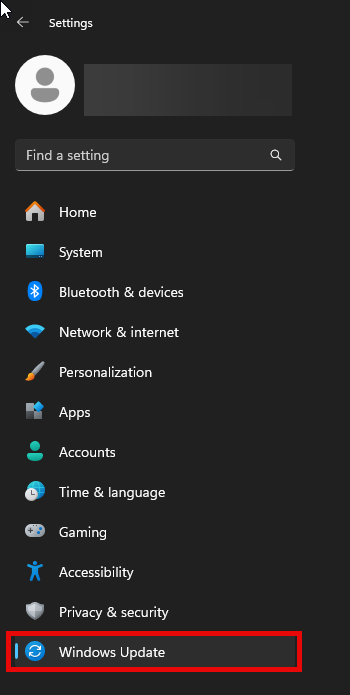
- Go to Update & Security: Click on Windows Update.
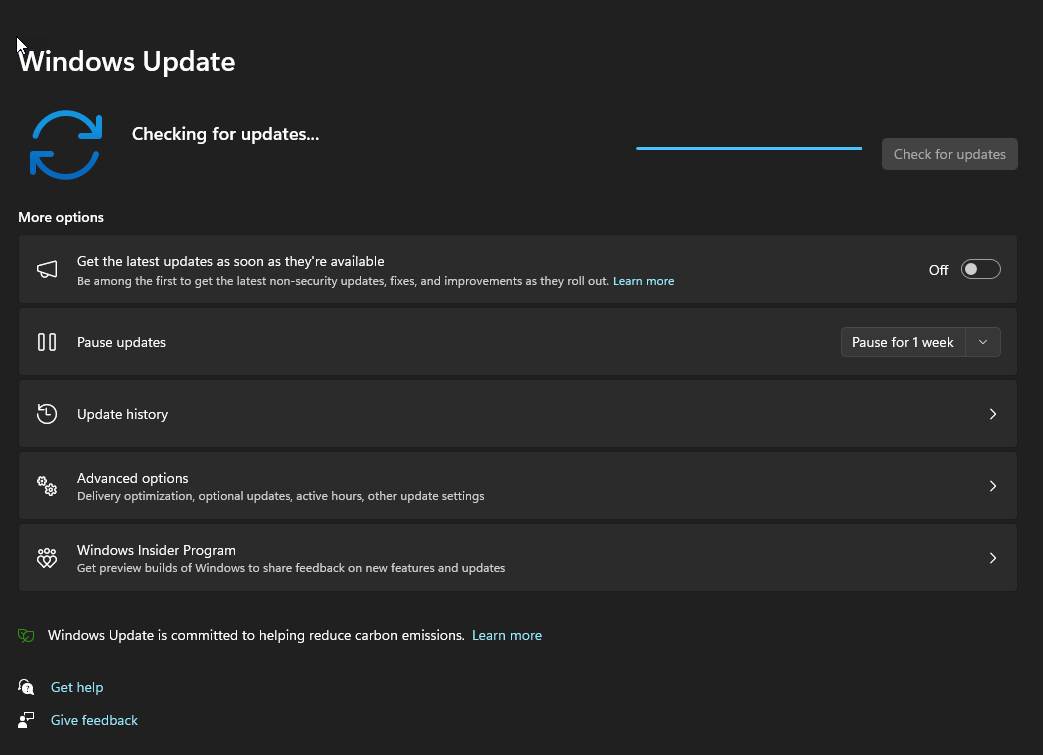
Step 2: Check for Updates
- Check for Updates: Press the Check for updates button.
- Download and Install: If there are updates available, click Download and install.
Step 3: Restart Your Computer
- Restart Your Computer: Once the updates are installed, you might need to restart your computer to complete the installation process.
Troubleshooting
If you encounter any issues during the update:
- Retry the Update: Sometimes, updates may fail due to network issues or server problems. Try checking for updates again.
- Troubleshoot: Use the built-in troubleshooter by going to
Settings > Update & Security > Troubleshoot. - Windows Support: For further assistance, visit the official Windows Support page or contact support.
Conclusion
Keeping your Windows 11 updated ensures you have the latest security patches, performance improvements, and access to new features. Regular updates can help prevent system issues and improve your overall computing experience.
For more detailed guidance on Windows updates and troubleshooting, visit the official Microsoft Windows Update support page.